
HI THERE!
Congratulations on your purchase of the VEEMClient®! You’ve made a fantastic choice in securing your digital workspace with cutting-edge technology. We're thrilled to have you on board!
Setting up your VEEMClient® is quick and easy, and we’re here to guide you through each step. Let’s get you up and running so you can start enjoying a seamless, secure experience. Ready to dive in? Let’s get started!
Specifications
VEEMClient® Generation 1
Processor
Quad core Cortex-A72 (ARM v8) 64-bit SoC @ 1.8GHz
Memory
4GB LPDDR4-3200 SDRAM
Network
2.4 GHz and 5.0 GHz IEEE 802.11ac Wireless, Bluetooth 5.0, BLEGigabit Ethernet
Inputs
2 USB 3.0 ports; 2 USB 2.0 ports
Display
2 × Full-HDMI® ports
Power
5V DC via USB-C connector
Audio
3.5mm Audio Jack
Operating System
VEEMClient OS and System Management
Additional Features
Up to 4 simultaneous connections
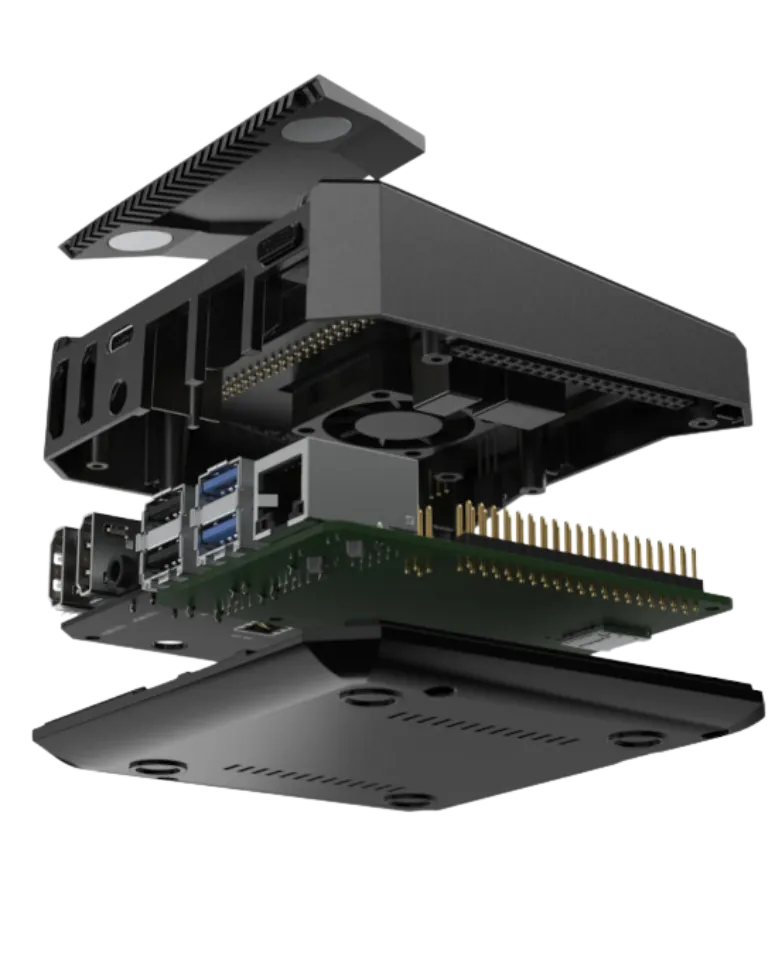
Device Connectivity
Your VEEMClient® is equipped with a variety of ports to ensure you have everything you need for a versatile and connected experience. Here’s a quick look at the ports available.
1. Two HDMI ports – For dual display support, making multitasking a breeze.
2. USB-C port for power – 5 watt USB-C power your VEEMClient®
3. 3.5mm audio jack – For easy audio connection with headphones or speakers.
4. Two USB 2.0 ports – Perfect for connecting less data-intensive devices.
5. Two USB 3.0 ports – Fast data transfer for your peripherals and devices.
6. Gigabit Ethernet port – For a fast and stable wired internet connection.

Quick Start Guide
Your VEEMClient® is Pre-Configured for You
Plug in at least 1 HDMI-compatible monitor
Connect a USB-compatible keyboard and mouse
Plug in an ethernet cable for network access (optional if using WiFi)
Plug in the supplied 5 watt USB-C power adapter
Press the Power Button and off you go!